Create Videos in Minutes with simpleshow
This is a sponsored post. All opinions are my own.
Videos are becoming such important tools for teachers, but one thing that stops many of us from using videos is making them: With all the other things we have to do, there’s very little time to find the right video creation tool, learn how to use it, then actually create the videos.
If you want to get started quickly, or if you’ve already been creating videos but are ready for something new, simpleshow may be the perfect tool for you. In just a few minutes, you can create a student-friendly, HD-quality video that explains any concept you can imagine, then publish it right away, and it’s totally free.
Before I show you how it works, here’s a sample of a finished simpleshow video:
How it Works
Simpleshow works a little differently from other video-creation tools. Having made my own videos with GoAnimate and Powtoon, as well as working from scratch with PowerPoint and Camtasia Studio, I found the process in simpleshow to be the fastest and simplest I have seen.
Step 1: Writing the Script or Importing Your PowerPoint
Once you start creating your video, you’ll have two options. You can either write a script from scratch or import a PowerPoint file.
Script-from-Scratch Method
First, you write out your whole script. To help you, simpleshow asks what kind of video you want to make. They do this because the platform has a nice library of storylines, templates that include the key components of specific video types that can help you put your ideas together:
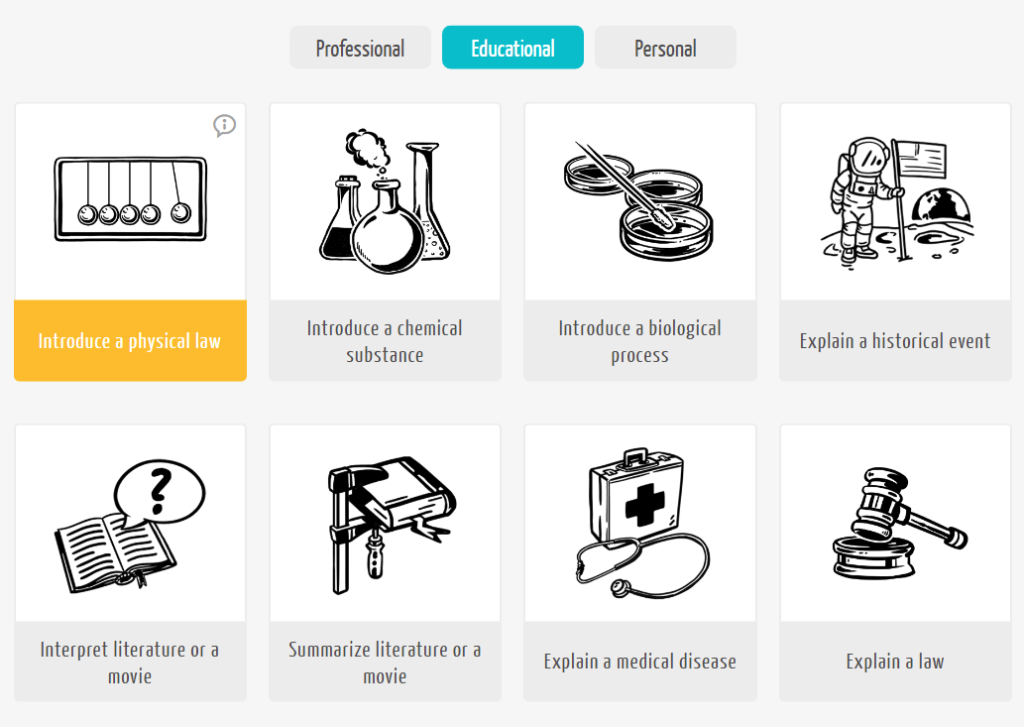
I chose the storyline called “Introduce a Physical Law” and got this template (below), which walked me through the steps of creating a video that effectively teaches this kind of content.
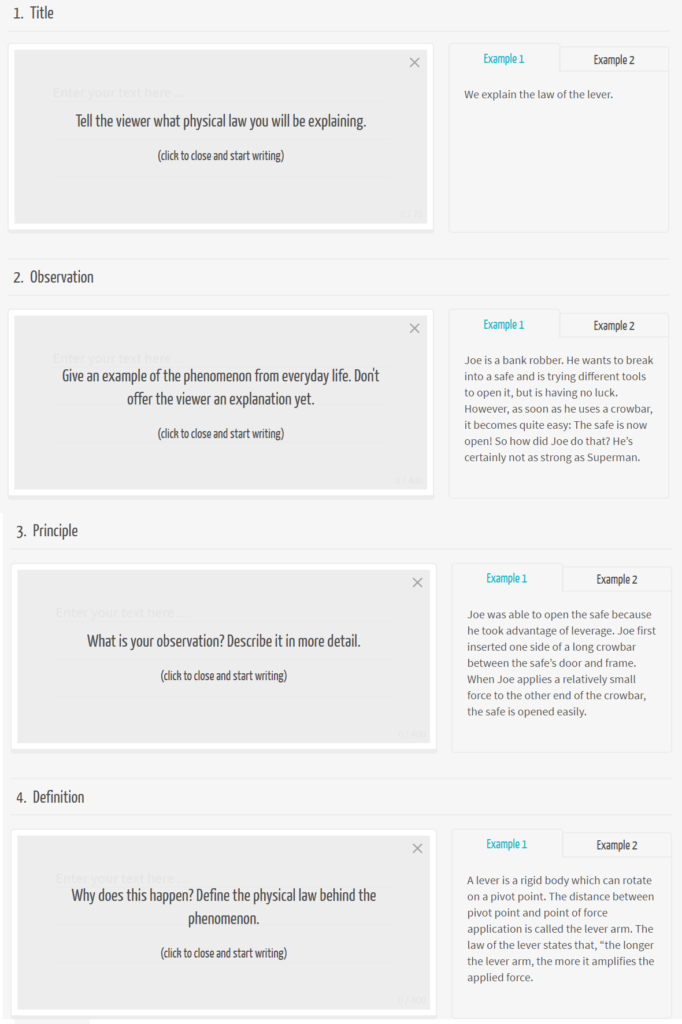
On the left are text boxes, where I will type out my script—simpleshow provides suggestions for the kind of content that would work best. On the right are two pre-written example texts that help me figure out how to put my ideas into words. Both of these tools are a big help, and it’s a nice touch coming from a company that has produced tons of explainer videos—they know what works!
If none of the storylines in the library are a good fit, you can always start from a blank storyline and write your script without assistance.
PowerPoint Import Method
If you decide to import a PowerPoint, the process is even quicker. Once it is uploaded, simpleshow extracts the most relevant text for you and creates a script from it, so you don’t have to choose a storyline template or write your own script from scratch. Of course, you can still polish your text once it is imported. Watch how this feature works here.
Step 2: Image Selection
When your script is done, the magic kicks in: simpleshow reads your script, picks out key words, and finds images to go with them. But you’re absolutely not tied to their suggestions. You have plenty of options to make sure the finished product turns out exactly the way you want.
- The images chosen by simpleshow can be replaced with others from the library. For example, if you use the word “house,” simpleshow will select one image of a house for you, but you can also browse others and replace the one in your video with something different.
- If simpleshow has selected an image that doesn’t quite represent what you were looking for, you can use the built-in search field to plug in another term. I started a video about carbohydrates, proteins, and fats, and they gave me a picture of a heavy-set person for “fats,” so I just went into the search field, typed “butter,” and got an image that was a better representation of what I was looking for.
- You can upload your own images. This is a great option if you want to show students something very specific. In the storyline below, I uploaded two images to represent the kinds of erosion features I wanted to illustrate.
- You can also type in text to stand in the place of or accompany an image.
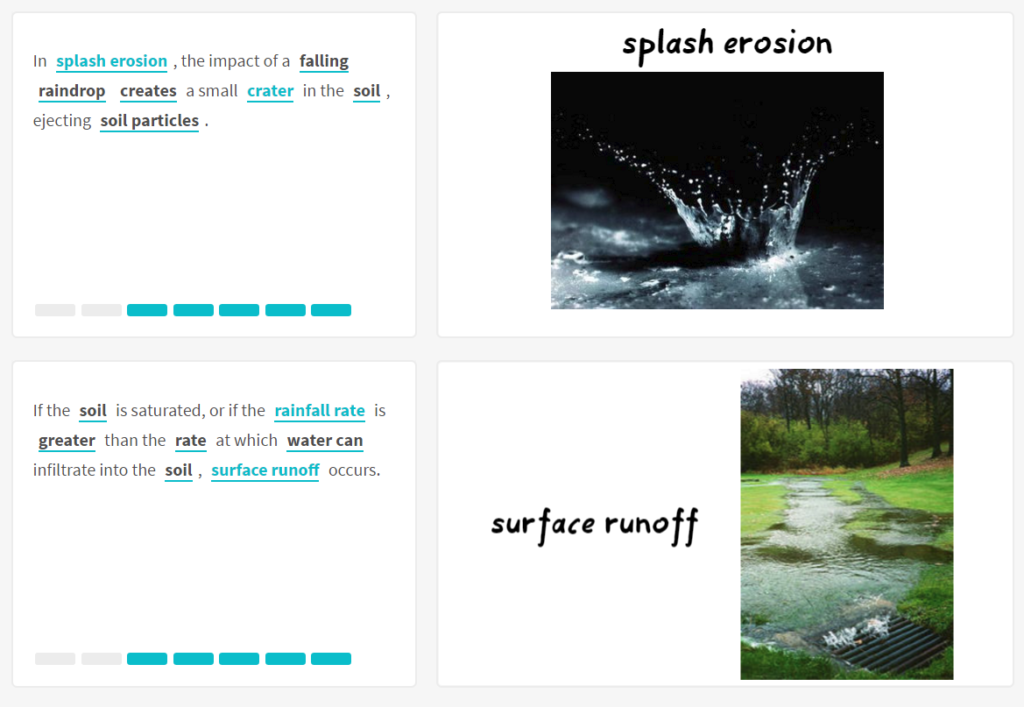
The script is to the left, what will show on the video is to the right. Blue words are assigned to the images (or text) on the right; the images appear when those words are spoken by the narrator. Words bolded in black are other key words simpleshow thinks might also need images; I can add images for them or I can highlight other words that I want to assign images to.
When you have made your final selections of images, you can rearrange them on the screen, resize them, flip them, and even put a Polaroid-style frame around them.
Step 3: Publishing
After your video is put together the way you want, you select a computer-generated voice* to narrate your video or upload a recording of your own voice doing the narration. Click “Finalize,” and in a few minutes you have a video ready to use.
The finished product will have audio narration along with some light background music, and your images will be timed exactly to the script, brought onto the screen by a pair of hands. In between slides, the hands will come back on to sweep everything away and clear the screen for the next slide.
Your finished videos will be stored in your own library right on simpleshow, so you can access them any time you need to. You have several options for sharing your video with students: You can download the MP4 file, which can then be placed on your class website, on a blended learning platform like EdPuzzle, or on a cloud-based system like Google Drive. Or you can upload it straight to your video-sharing platform of choice: YouTube, Vimeo, or Wistia.
Ideas for Using simpleshow
Teacher-created videos offer so many ways to improve learning and make your classroom run more efficiently.
- Teach chunks of content for flipped learning, to introduce a unit, to use when you have a substitute teacher, or to differentiate instruction.
- Create tutorials for common classroom procedures. Why teach the same processes over and over again? Make the videos once, share them with students, and make sure they can find them later if they need a refresher.
- Create an introductory video to share with parents. This is a great way to show parents who you are and what they can expect from you for the year.
- Have students create their own videos. simpleshow videos would make awesome end-of-unit projects, book reviews, or Genius Hour presentations.
simpleshow is a free web-based platform, so anyone with an Internet connection can get started right away. Now that time and cost are no longer an issue, what’s stopping you? Head over to simpleshow right now and give it a try! ♦
*Update, July 2021: Simpleshow video maker can now be used in 20+ languages! To learn about how it works and why it matters, click here and here.
*Update, December 2020: The simpleshow video maker app is now available in Microsoft Teams! It allows its users to create, edit, upload, and share explainer videos – directly using the Microsoft Teams interface. This makes collaboration easier than ever! Here’s a video that explains how to do the simple integration: https://youtu.be/s7T9uh66jdc
*Update, February 2020: This month, simpleshow optimized the Visualize Phase so it became faster, more intuitive and much easier to use. Using powerful imagery allows the explainer videos to convey stronger messages. You can learn about the improvement here.
*Update, January 2018: This month, simpleshow launched a FREE “Classroom” plan. This account option is available to anyone who has an education background (teachers, students, education institutions). The plan comes with a default of up to 50 team members and allows for collaborative video making and full creative freedom. To sign up for this free classroom option, you just need to go to videomaker.simpleshow.com/pricing/#education. You can also watch this video for more information.
Join my mailing list and get weekly tips, tools, and inspiration—in quick, bite-sized packages—all geared toward making your teaching more effective and fun. You’ll also get access to my members-only library of free downloadable resources, including my e-booklet, 20 Ways to Cut Your Grading Time in Half, which has helped thousands of teachers spend less time grading!